If you already have a data file with assets, using the import function makes it easy to bring those assets into your project.
You may have a number of files that include data that you want uploaded into your Project. "Import as asset" requires either a file with geotagged information (Shapefile, GeoJSON, or a KML) or a dataset that can be tied to a file including geometry. You can use this feature for any Tool for an Asset in your Toolkit. Here's how you do it:
- Make sure you have either a geospatial file or a data file with a file with corresponding geometry. "Import as asset" can only be used for one asset at a time, so the file you upload must only contain data pertaining to one asset (ex: if you want to upload a number of Sewer Laterals, the file must contain attributes and geometry that match with the Sewer Lateral tool).
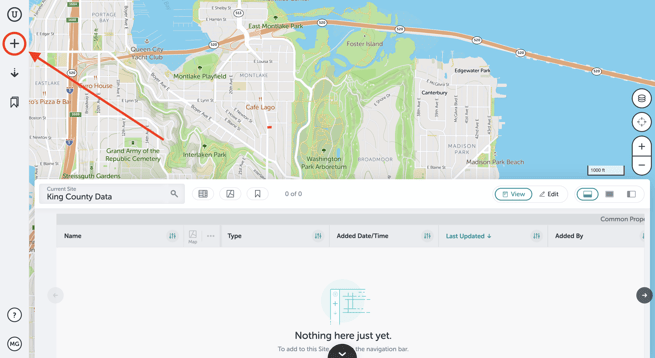
- Navigate to your site and click on the "+" button to open your Toolkit.
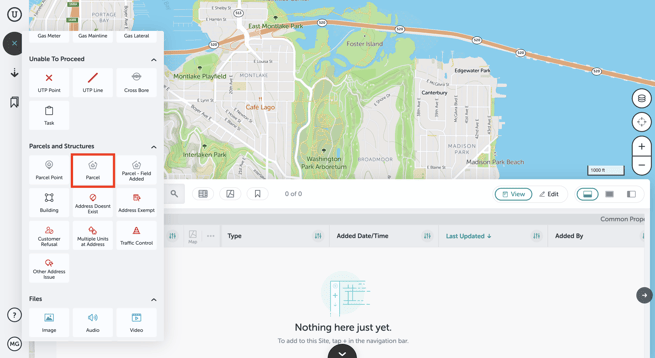
- Click on the Tool you want to import. For this example, we're importing parcels, but you can use this process for importing assets under any tool.
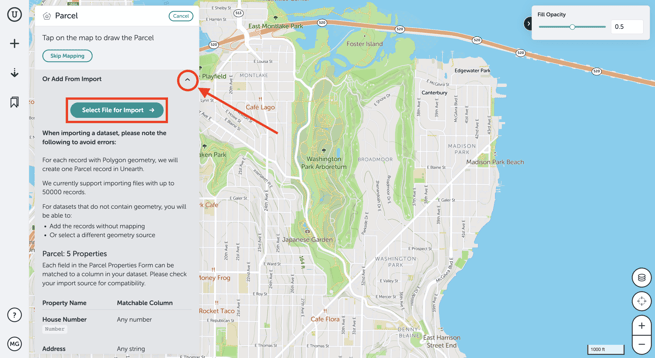
- Click on the caret next to "Add from Import." Then, click "Select File for Import."
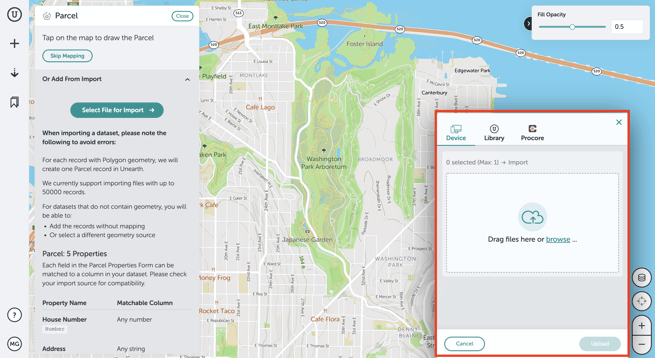
- Drag or select the file you would like to upload. Click "Upload" to start the import.

- A new window will then open, click "Next." Under ‘Analysis’ look for a green checkmark indicating that your file contains the correct geometry type for your target asset. If not, please see this article for tips on modifying a GIS file prior to import.
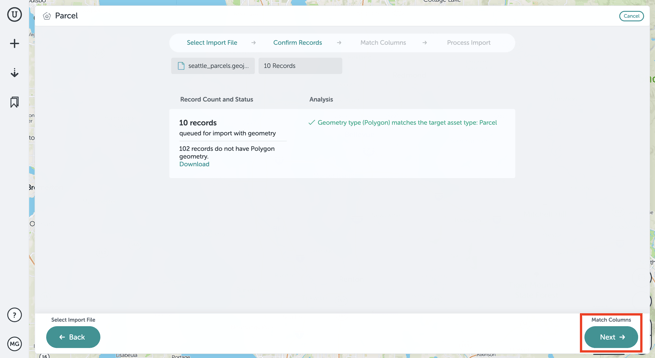
Note: Under ‘Record Count and Status’ you might see a warning that says 10 records are queued for import, while the remainder of your total records do not have geometry. You can safely ignore this warning, as this is known issue with our messaging and will be resolved in an upcoming release.
- In the next window, you can select the fields you would like to be imported into the new assets.
- You can match columns from your dataset to fields in the asset's form, ensuring data from the source file is carried over into your project such as addresses.

- If you don't need to match a field or your data doesn't have that information, toggle the "skip" switch in the right corner of the field on. This will result in that field being blank in your asset form.
- Selecting "Insert Value" allows you to choose the same value to be applied in this field across all assets in the import. Once you are done, click "Next."
- You can match columns from your dataset to fields in the asset's form, ensuring data from the source file is carried over into your project such as addresses.
- The data will be processed and you can click "Done."
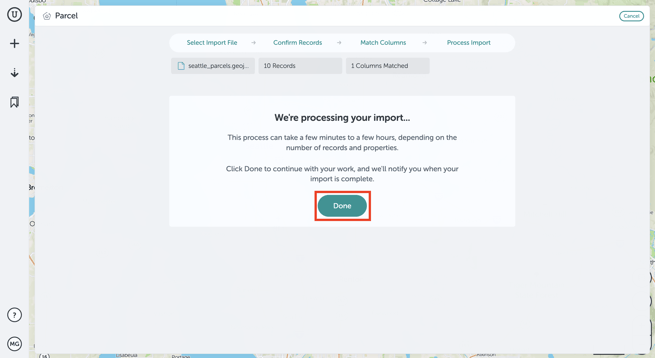
- You will receive an email notifying you when the import is complete. To be sure your import is finished, we recommend refreshing your site to have the new imports load onto your site.
If you run into any issues or have any questions, please reach out to us at support@unearthlabs.com.
Revised June 2022