Saved Views are a quick and easy way to apply frequently used filters on your map.
Filtering and sorting data in Table View enables streamlined quality control and/or viewing only certain assets as needed. When you set filters, you can export the table and your export will reflect only the content that is remaining in the table after you apply filters. Saved Views allow you to quickly enable filter settings to access frequently used data or frequently exported data. A Saved View is specific to an individual user, and can be applied across a user's separate projects. Users can also share their saved views with other users.
Here's how you set up a Saved View:
- Apply your desired filters so that your Table View is displaying the type of data you'd like to save, following these instructions. For this example, let's say you want to filter only sewer laterals and mainlines to view in your table - select those for filtering.
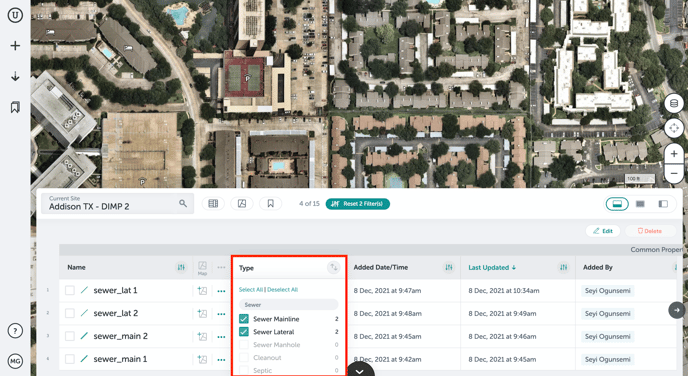
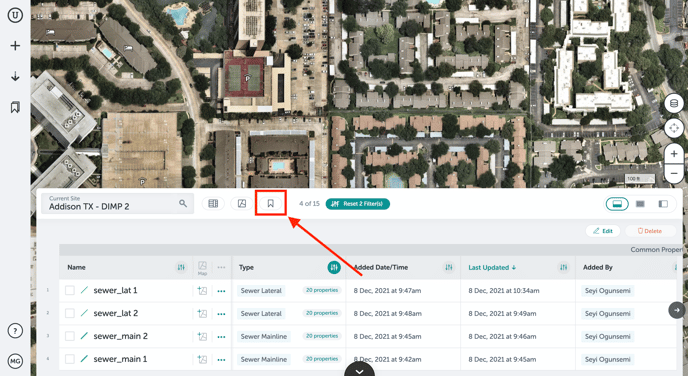
- Confirm your filters are correctly displaying the sewer mainlines and laterals in the table. Click the bookmark icon in the Table View header to create a Saved View.
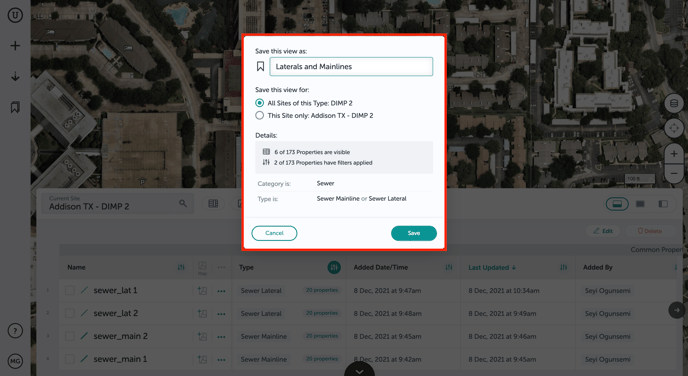
- Fill out the window that pops up with a name for your Saved View, as well as whether you'd like it to be available across all the projects you have access to of that type, or just the project you're currently on. Click "Save."
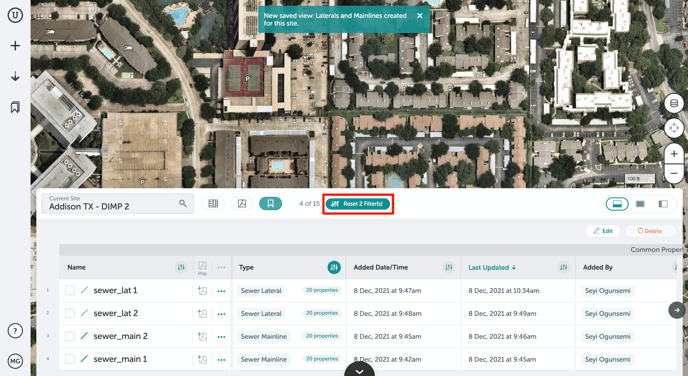
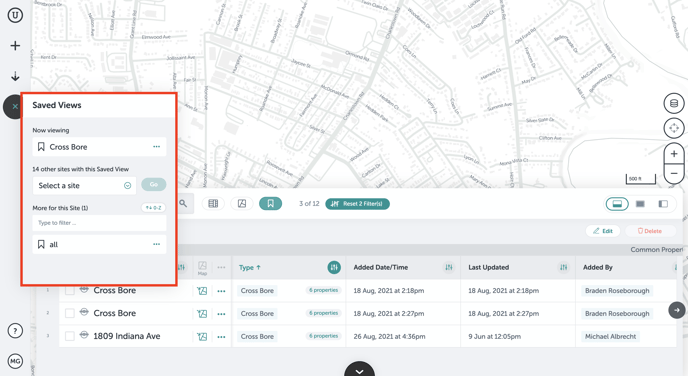
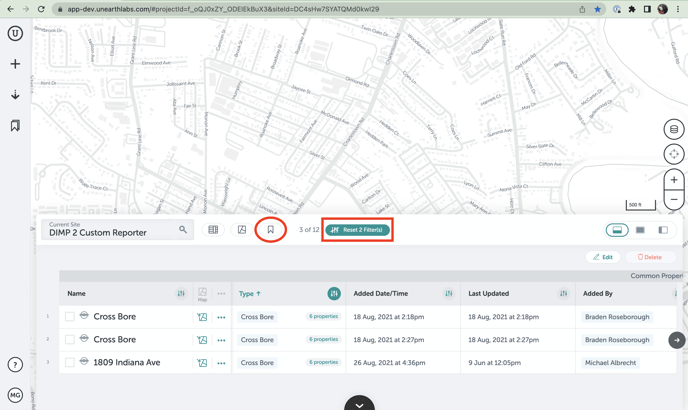
- After saving, your new Saved View will be immediately applied. You can clear the filters to view all Table View content again by clicking "Reset Filter(s)."
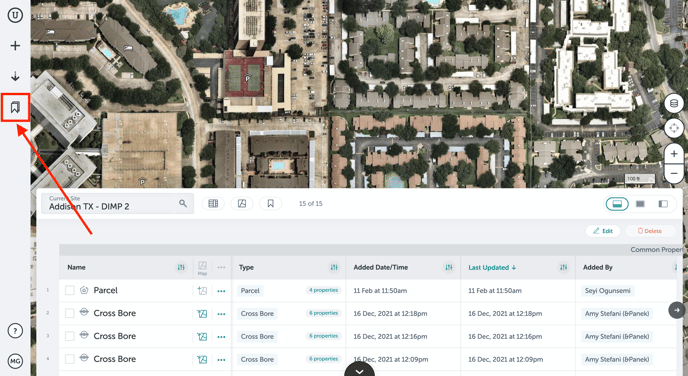
- Apply your Saved Views at any time by navigating to the bookmark icon on the left side of your screen below the "export data" arrow.
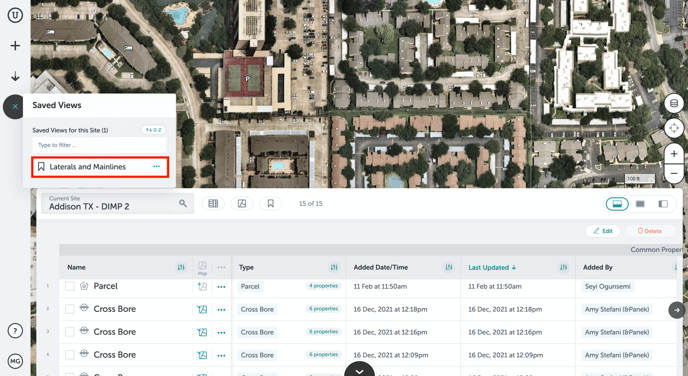
- Click the bookmark to see all the Saved Views you've created. Then, click on the name of the Saved View you'd like to use to apply it to your Table View.
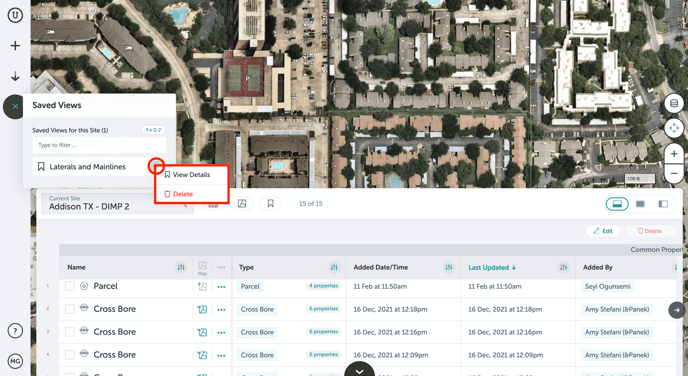
- You can also click the 3 dots next to the name of the Saved View to view details or delete.
Sharing a Saved View
If you’d like to share a Saved View you’ve created with a team member so they can save it to use it to filter their Table View, follow these steps:
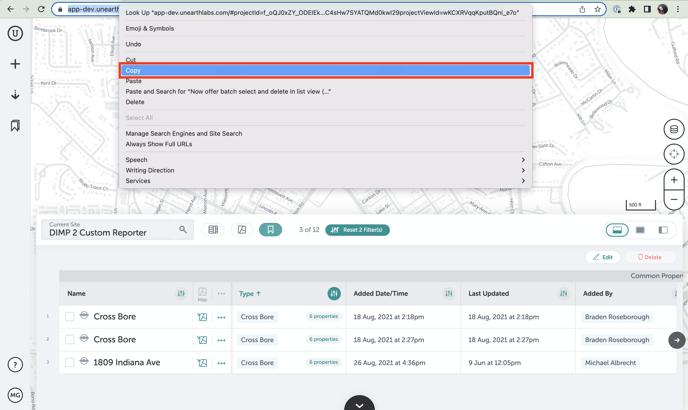
- Enable the Saved View to your table that you’d like to share.
- Copy the URL and share it with team members - the URL contains filtering information, so any filters you have applied from your saved view will be contained in the URL and will be applied for the user when they open the URL.
- After your team member has opened the shared URL, they will see those filters applied. They can then follow the steps to create a saved view on their own account with those same filters.
If you run into any issues or have any questions, please reach out to us at support@unearthlabs.com.
Revised June 2022